

MCGI Button Tutorial
- May 17, 2023
- 3 min read
Hey everybody! It's Ashley, the Digital Teaching Artist, here with a cool update...

WHEW. Wowee, what a truly fantastic MCGI night we had this year. I had a blast, and it was so great to see so many in our community come to celebrate our amazing and talented students. I had numerous folks reach out to me to ask about the process behind making the buttons for award winners. So I thought it might be a good time for an elusive Ashley blog update. Strap in for a tutorial.
Supplies
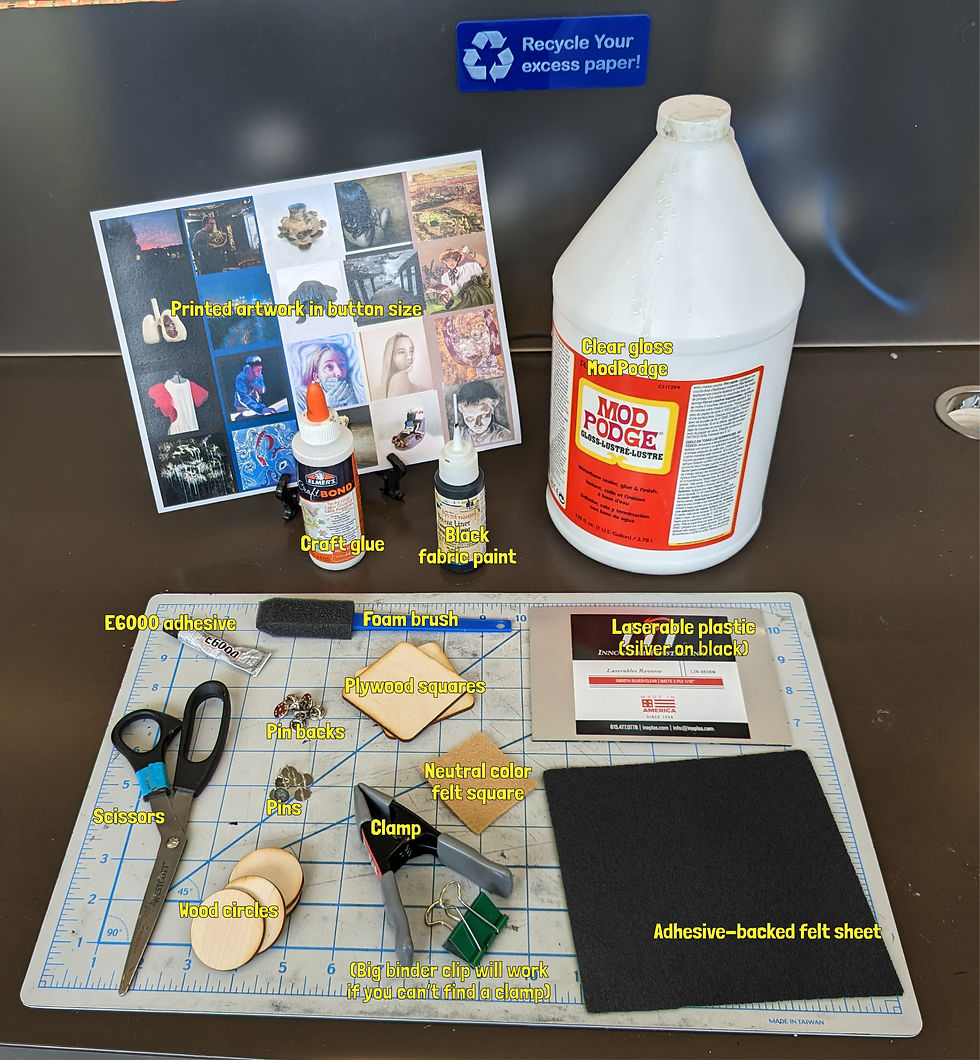
For your own fabulous buttons, you will need the following supplies and equipment:
|
|
|
|
|
|
|
|
|
|
|
|
|
|
|
|
Step 1: Prep your images.

Here is how I prepped the buttons for print. I used inDesign to import each file as a JPEG and crop it to a square. I created a "diecut" layer as a faint circle to indicate the button edge. Then I put a background color for bleed because my prepress experience forbids me from printing an image without a bleed background that extends beyond where you think you'll need any color.
Step 2. Cut and Slit

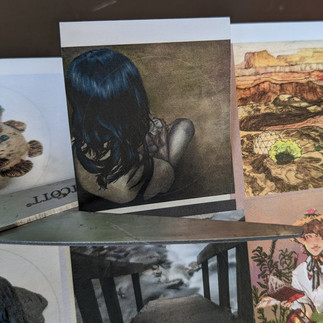


Cut out the images, leaving space around the border so the image can wrap around the edge of the button. Then cut slits the entire way around to prep it for glue. I rounded the corners. Unnecessary.
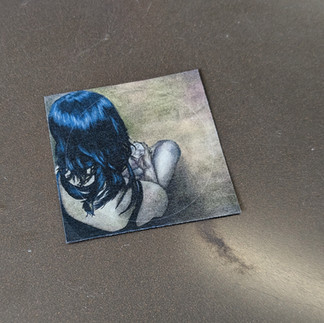
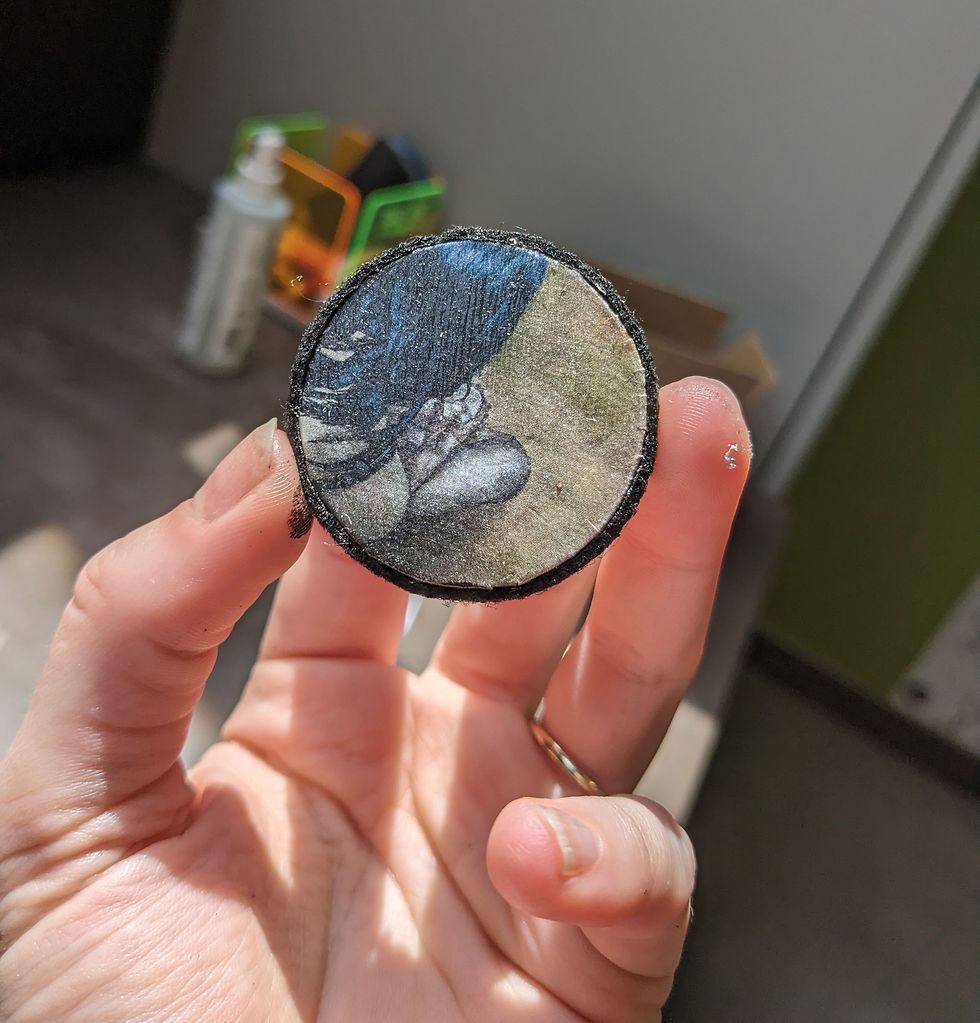
Step 3. Glue and ModPodge


Using the craft glue, stick the artwork to the wooden button circle. Wrap the edges around and add more glue until nothing is pocking out of the sides. You can also roll the button around on the table to push in the edges to make it more even. Then mod podge it. I did two coats for extra shine. Shinier = Professional™
Step 4. Prep for Engraving

If you have access to a laser engraver, next it's time to make the silver button backs. Using Illustrator, you can use the "Type on a Path" tool to create text that follows whatever shape you create. Press and hold on the Type tool to select Type on a Path and write out the name in your favorite font.
Step 5. Create Button Path File

The laser engraver needs a vector file to cut out the button shape. Measure your button and create a circle of that shape. Set it to cut according to the settings on your engraver. Here's how mine looked on the computer.
Step 6. Engrave

Send it off to the engraver and watch it go. But don't watch too close it's a laser, it's bad for your eyes.
Step 7. Glue and Clamp


Apply an even coat of craft glue and slap on the button back. Then you need to clamp it and let it dry. Use the piece of neutral felt to protect your art from the plywood sandwich. This should keep the ModPodge from adhering to the wood. You can rub off any residue once the glue is dry.
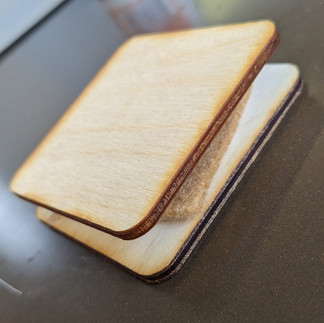
Step 8. Felt It


Measure the depth of the button with a millimeter ruler because we have extraordinary attention to detail. Then cut the handy-dandy adhesive-backed craft felt down to size and stick it on. Use the fabric glue to touch up the seam as needed. Oh, also I added a layer of ModPodge to the felt to make it a little less pilly.
Step 9. Pin It


Take your very strong E6000 all-purpose adhesive and stick that pin in the center of your pin. Then let this cure for a couple hours before you put the pin back on because if you do it too early you'll tear off the whole pin back in your excitement to see if the pin will work.
And There You Have It.
Just do it 41 more times or however many buttons you're making.
I happen to live in Dubai, and over the past year I’ve discovered a few animation agencies near me here that are doing compelling work. For example, Animation Studio AE is doing hand-drawn animation and pushing the boundaries of storytelling across the UAE.
Cari tahu situs slot gacor yang sedang hits di kabar4d.